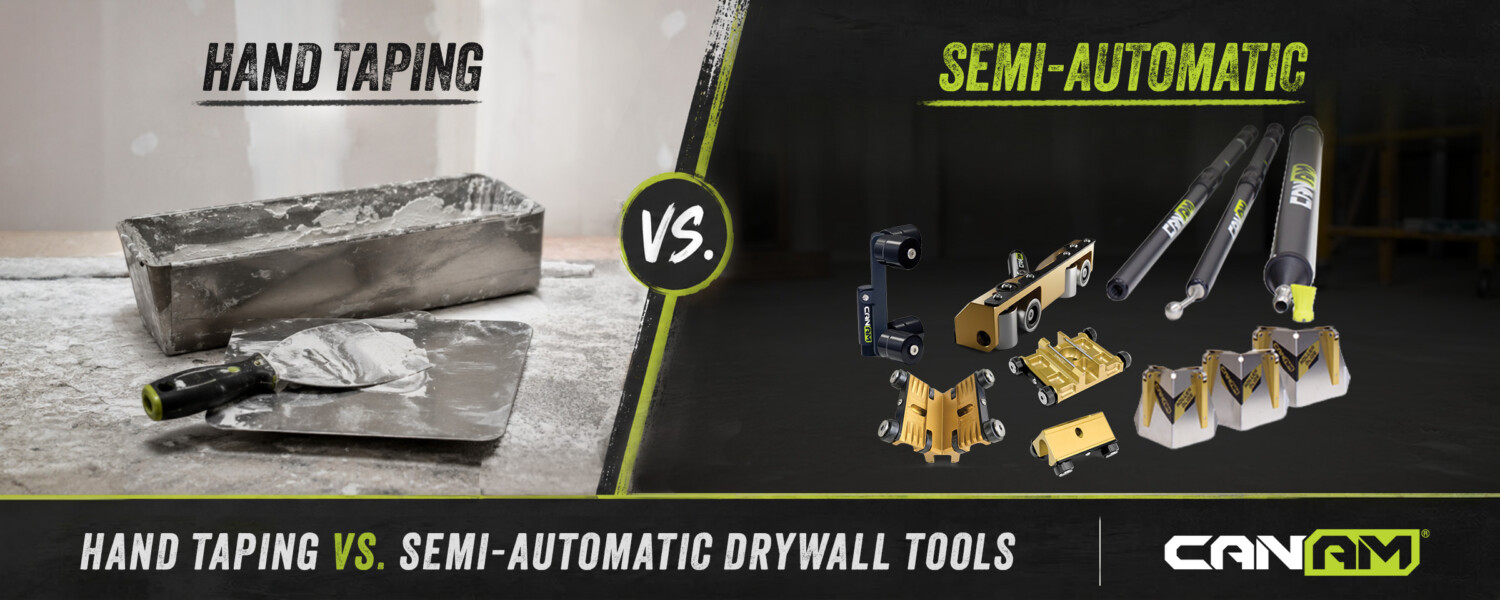
Every drywall finisher hits the same fork in the road. You can keep running a knife and pan — cheap, familiar, and slow — or you can move to tools that lay and finish mud for you. The question isn’t whether the tools work. It’s whether the speed they buy is worth the change. Here’s an honest comparison of hand taping versus semi-automatic tools, plus a start-to-finish look at how the semi-automatic system actually works.
Hand taping: what you’re really paying
Hand taping means a knife, a pan or hawk, and your own arm doing every step. It’s how everyone learns, and it has real advantages: the tools cost almost nothing, there’s no setup, and you have total control over every inch.
But the cost shows up in time and body. By hand, most joints take three coats — a tape coat, a fill coat, and a finish coat — and butt joints often take four, because you’re building mud up in layers and waiting for each to dry. Every corner gets finished one side at a time. Every seam gets troweled, sanded, and re-coated. On a small patch, that’s fine. On a production job, hand taping is the slowest, most physically punishing way to get a wall flat — and the sanding at the end can be brutal (a sharp finisher leaves less to sand, but it adds up).
Semi-automatic tools: the middle that CanAm built
There’s a reason “automatic” sounds expensive — full auto-taper rigs (the bazooka-and-pump systems) are fast but cost thousands, weigh a lot, and need constant maintenance with their chains, gears, and pumps.
Semi-automatic tools are the middle ground, and it’s the category CanAm invented back in 1973. Instead of a pump and a machine, the system runs off a hand-pumped compound tube that feeds a set of applicators, rollers, and finishers. You get most of the speed of a full auto setup for a fraction of the cost, with almost none of the maintenance. It’s the sweet spot for the contractor who’s outgrown the knife but isn’t ready to mortgage the truck for a bazooka.
How the semi-automatic flow works, start to finish
This is the part worth understanding, because it’s what makes the speed real. The whole system is built around laying mud right the first time so you stop building joints up over three coats. Here’s the flow:
1. The compound tube — the engine. A hand-pumped aluminum tube holds your compound and meters it out an even amount at a time. One fill runs a whole small room. It’s the heart of the system and the cheapest way in. (See how to use a compound tube.)
2. The applicators — laying the mud. Different heads feed off the tube to lay a clean, even coat exactly where you need it:
- A flat applicator for beveled joints and butt joints.
- An inside corner applicator that applies mud to both sides of an angle at once.
- An outside corner applicator that applies mud to both sides of an outside corner.
3. The rollers — embedding tape and bead. After the mud and tape go on, a corner roller seats the tape into both walls of an inside angle and squeezes out the excess; a bead roller seats bead the same way. This is the step that stops blisters and bubbles later, and sets a proper plaster margin.
4. The finishers — the clean pass. A corner finisher wipes and feathers both sides of an inside angle in one pass, leaving a sand-ready corner with little cleanup. (See what a corner finisher is and how to use one.)
5. The handles — reach. Flusher and extendable handles let you run all of it standing up — ceilings, high walls, full-height corners — instead of crouching or climbing.
Put together, a single joint goes: mud it with the tube and applicator, set the tape, roll it, finish it. You still run your coats — but each pass finishes both sides at once and goes on clean, instead of the one-side-at-a-time, build-and-sand grind of hand taping.
Prefer to watch? See why finishers stop taping by hand:
The payoff: time, sanding, and your body
The headline difference isn’t coat count — it’s time. An inside corner still takes tape, fill, and finish coats whether you run it by hand or with tools. But by hand you finish one side, wait for it to dry, then do the other, before you’ve even started your fill and finish. The system does both sides in one pass, every pass, and kills that mid-corner wait on every angle in the building.(More on how many coats of mud you actually need.)
Same coats, roughly half the time — plus even mud that goes on fast, dramatically less sanding, and houses finished in a fraction of the labor. That’s the whole reason the tools exist, and why crews that switch rarely go back.
So which should you run?
- Stay with hand tools if you’re doing occasional patches, small repairs, or one-off jobs where setup and cleanup aren’t worth it.
- Move to semi-automatic the moment volume becomes the problem — when you’re taping whole houses, chasing schedules, and feeling the sanding in your shoulders. The tools pay for themselves in saved labor faster than most finishers expect.
- Full auto-taper rigs make sense only at high, steady volume where the price and upkeep are justified.
For most finishers ready to make the jump, the entry point is a compound tube and a few core heads — or an all-in-one kit that gets you running day one.
The takeaway
Hand taping is cheap to start and slow forever. Semi-automatic tools cost something up front and give it back in speed, far less time per joint, and a body that isn’t wrecked at the end of the week. It’s not a gadget — it’s the system CanAm built in 1973 to make production finishing faster, and it’s still the smartest middle ground between a knife and a bazooka.
CanAm builds the complete semi-automatic finishing system. Built for production. Explore the full semi-auto setup →