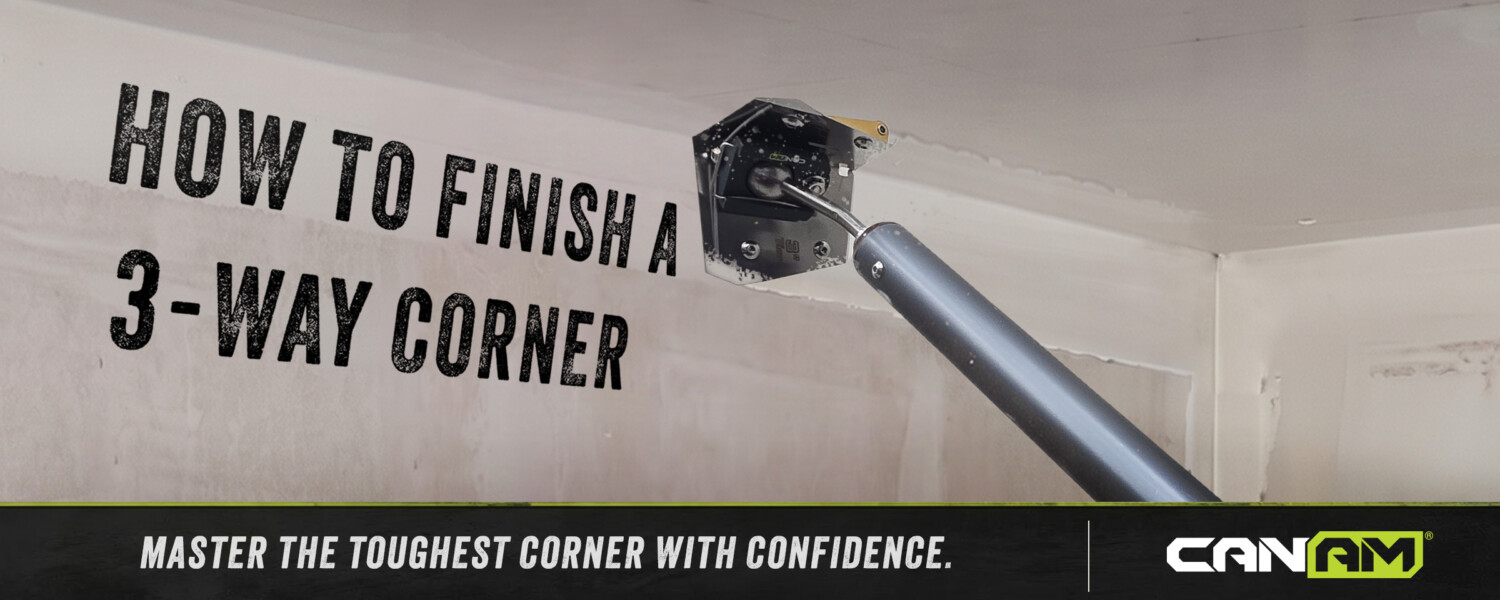
The 3-way corner is the spot every finisher slows down for. It’s where three drywall planes meet at a single point — most often two walls and a ceiling in the top corner of a room, but also tray ceilings, soffits, bulkheads, and stairwell corners. Three inside angles all converging on one apex is a recipe for buildup, bunched tape, and cracks down the road. Here’s how to finish one clean.
Why the 3-way is a pain
A normal inside corner is two surfaces meeting in one line. A 3-way corner is three angles crashing into a single point — and that point causes three specific problems:
- Tape collides. Run tape down all three angles and the ends pile up where they meet, leaving a lump that’s almost impossible to hide.
- Mud collects. The convergence naturally traps compound, so it builds up thick right where you need it thinnest.
- It loves to crack. Three planes move independently, and all that stress lands on one point. Overbuild it and it’ll telegraph a crack within a season.
So the goal at a 3-way isn’t speed — it’s keeping the apex clean and thin while the three angles running into it stay sharp.
Where you’ll hit them
Every room has them in the top corners. You’ll also find them anywhere planes step or pitch: tray and coffered ceilings, vaulted ceilings, soffits and bulkheads, window and door returns, and stair walls. The more architectural the build, the more 3-ways you’ll be finishing — which is exactly why having a clean method matters.
The method
1. Mud and tape each angle — and manage the point. Run each of the three angles like a normal inside corner: lay the mud with your inside corner applicator, bed your tape into the wet mud, and roll it. The one extra rule at a 3-way is the tape itself — don’t let the three ends stack into a wad at the apex. Trim each piece so they meet cleanly at the point instead of overlapping into a lump.
2. Flush all three angles with the corner finisher — in order. Wipe and feather each angle with your corner finisher. The order that keeps the point clean is the two ceiling lines first, then pull the finisher straight down the vertical wall-to-wall corner last. Let the tool do the three long runs fast and clean, so the only spot left needing attention is the point where they meet.
3. Fix the point by hand. With the three angles run, the apex is all that’s left — and no standard corner finisher reaches cleanly into it. Work the point with a knife (a smaller flex blade gives you the most control), pulling mud out of the convergence and feathering it into each of the three angles. Keep it thin; the instinct to pack mud into the point is exactly what makes it crack later.
4. Build it in thin coats and let each dry. Don’t try to fill and finish the apex in one heavy pass. Two thin coats that dry between beat one thick one that shrinks, cracks, and has to be redone.
Prefer to watch? See the three angles run and the point finished:
How to keep it from cracking
- Thin at the point, sharp on the runs. A clean 3-way looks like three crisp angles meeting at a barely-there point — not a mound of mud.
- Don’t bridge it. Let the tape and mud key into each plane rather than floating a thick cap over the convergence.
- Use setting-type compound for the first fill if the corner sees movement — it shrinks less than air-dry mud and holds the point better.
The takeaway
A 3-way drywall corner comes down to a simple split: let your corner tools run the three angles fast and clean, then finish the apex by hand, thin and feathered. Manage the tape so it meets cleanly at the point, keep the mud light where the three planes converge, and build it in thin coats. Do that and the corner everyone dreads finishes as sharp as the rest of the room.
CanAm builds the corner tools that run the three angles fast — so the only thing left is the point. Built for production. See the corner finishing tools →